EASY PERFECT PIE CRUST
Here is the best flaky pie crust. It won’t get tough with repeated working either. Easy perfect pie crust that is great for beginners and children because you can ball it up and roll it out again without the crust getting all tough.
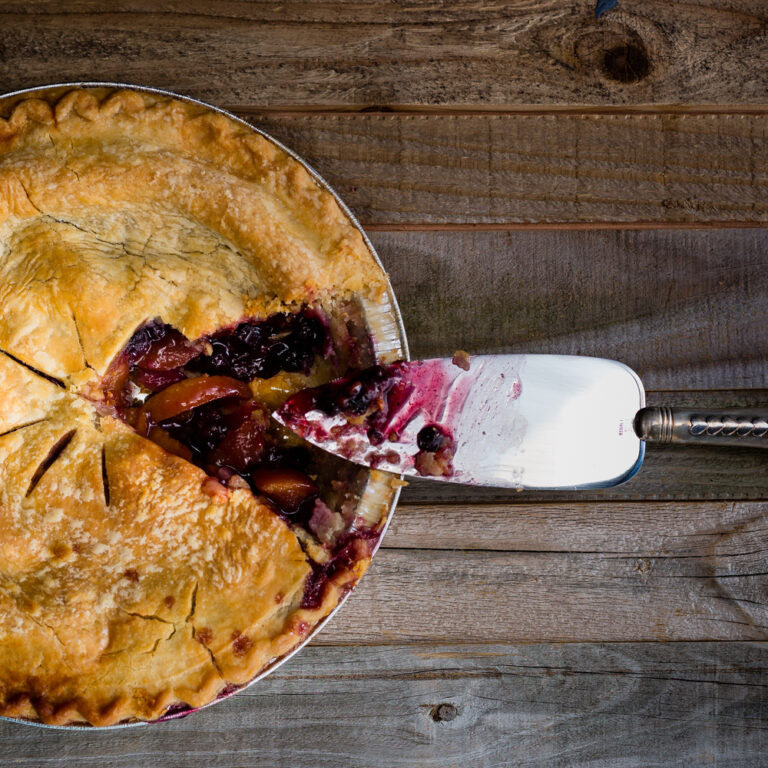
The finished product is flaky and tender.
The shortening in the recipe can be altered to fit your preferred fat as long as it is a solid fat (not olive oil)
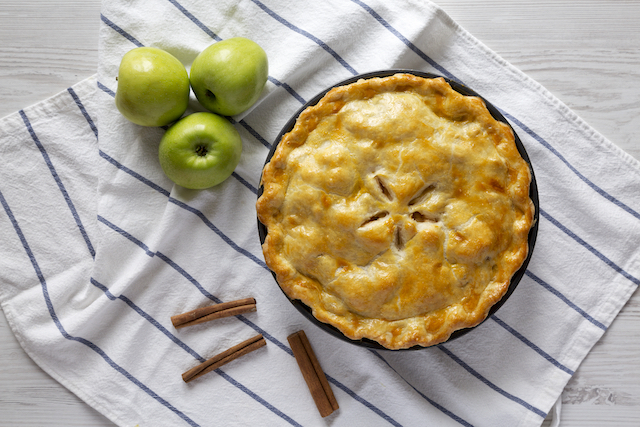
The recipe for easy, perfect pie crust came to my mum from a godly lady in our community. She was a friend and mentor first to my mother and then to me also.
TAKE BACK YOUR VITALITY!
Learn more about the health benefits of gardening and get some good tips and instruction too.
A Godly Mentor And Friend
Did you have a mentor growing up? Was there a special godly woman who encouraged you and taught you important things? My mum was great and her love and teaching were complimented by other women in our community.
Mrs. Williams was in charge of the Mary E. Finn Elementary School cafeteria back when the cafeteria also doubled as a gymnasium. It was just a little neighborhood School, but Mrs. Williams took great pride in making our lunches from scratch. The smell of simmering spaghetti sauce or homemade yeast rolls would waft down the little corridors all morning.
Special Privileges
My mother worked part time in the cafeteria. On yeast roll days I would develop a headache or belly ache and need to go see mum. The teacher always let me go. I would get a fresh roll hot from the oven and covered with real butter. Yum!
The pies were all homemade too. There was no pre-made crust in those days anyway. The flaky crust was always tender and the easy, perfect pie crust was one of the projects the older students were allowed to help with.
A Friend
Mrs. Williams grew up on a farm in Brooklyn, Maine during the depression. She had the dry sense of humor and the grit that is so characteristic of the Downeast region. She was one of the most energetic and caring women I knew growing up.
Mrs. Williams took my mother under her wing, and also taught me many things in the 4-H clubs she hosted.
Mrs. Williams kept the old fashioned habit of household bookkeeping. She could tell you exactly what it cost to make any dish because she recorded it in her notebook. She knew what each cup of flour cost by knowing how many cups were in a pound and breaking it all down. Maybe that’s one of the things that kept her mind so sharp in her later years.
I have made attempts at keeping my kitchen books like she did, but it never stuck with me. Her recipes have stuck though. The one I use most often is for her pie crust.
Adaptable – Easy – Perfect – Pie – Crust
The recipe is very adaptable. I will share it as Mrs. Williams gave it to my mother.
Here I will also say that, I now make some changes.
The Flour
It calls for all general purpose white flour. I prefer using whole wheat flour. If you are going to make the substitution, start by replacing 1/3 of the white with whole wheat. You can increase the ratio if you like. Whole wheat flour comes in several varieties. For pie crust and quick breads use soft white wheat. It is still “whole”, but the variety of wheat grown for soft white has much less gluten than something like hard red or prairie gold. The lower gluten ratio in the flour will help give a lighter and more flaky crust. (The other varieties of wheat are better suited for yeast breads.)
The Shortening
The recipe also calls for “shortening”. When I was going up this always meant Crisco or other hydrogenated vegetable oil. Like most other women of the time, my mum would have considered lard or butter as unhealthy – and in the case of butter, too expensive. Now we know better about which fats are actually healthy. I suspect Mrs. William’s mother used lard right from their farm.
I have used lard, butter or a combination of the two. It works well. If your lard is very soft you will need to reduce the amount of fat to keep the crust from kind of melting in the oven and dripping onto the bottom making a smoky mess. Trust me. How much to reduce the fat is hard to say because it will depend upon just how soft your lard is. I would guess at reducing by 1/4 cup.

Getting The Perfect Easy Flakiness To Pie Crust
Next let’s talk about the amazing flakiness of this crust
Once you mix the dough it will be soft and sticky. DON”T TRY TO FIX THAT!
The only thing you can do to really mess up this recipe is to add flour to make it as hard to handle as the usual type.
- Put the soft and sticky pastry into the refrigerator for a couple hours before your roll it out.
- Sometimes I even put the fully formed but raw pie into the fridge for a bit right before putting it into the oven. The colder the crust is when it hits the hot oven, the flakier it will be. If I’m busy and want my pie – I just put it in the oven. It comes out delicious.
- Another tip: I always put a cookie sheet or some foil on the rack below the pie. We make some pretty good sized pies around here and it can drip a little in the oven.
Storing The Dough For Easy Perfect Pie Crust
Feel free to make the dough several days ahead of time. It will keep in the refrigerator for up to a week. The original recipe claimed it would keep for two weeks. I think that was true until I moved away from processed foods. So the type of flour and shortening you use will affect storage time.
You can also put a fruit or meat pie together and freeze the whole thing. This makes a great meal or dessert for when you are busy or practicing hospitality.
AND: YOU CAN FREEZE THE RAW PIE DOUGH
Yes. This easy perfect pie crust can be frozen in portions. I even make a triple batch in my Bosch stand mixer. I use whatever amount I need and then store single crust portions in freezer bags. Talk about “as easy as pie”! It thaws quickly and takes a lot of the mess out of pie making day.
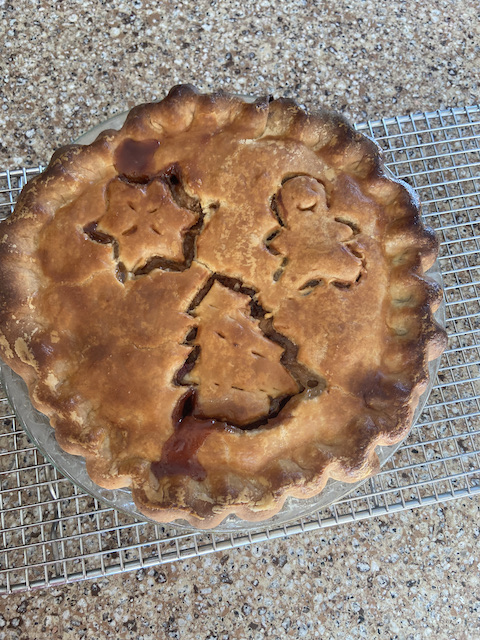
Here is The Recipe Mrs. Williams Gave My Mother

Easy Perfect Pie Crust
Ingredients
- 3 cups flour white or a mix of white and whole wheat
- 1 TBS Sugar Can use maple sugar or coconut sugar as options.
- 1/2 tsp salt
- 1 1/3 Cup Shortening
- 1 large Egg Slightly beaten
- 1 TBS Apple Cider Vinegar
- 1/2 Cup Cold Water
Instructions
- Combine flour, sugar and salt in a bowl
- Mix with the shortening until it is well incorporated
- In a separate bowl mix Egg, Vinegar and Water
- Add the liquid to the dry ingredients and stir with a fork. Note: If using a stand mixer to make a large batch: just mix enough to combine.
- Chill the very soft and sticky dough 2 hours
- Roll out on a well floured surface
- Bake according to the instructions for your pie
I hope you enjoy making this pie crust. Let me know what changes you make to the original recipe. I’d also love it if you show me what your children are able to make using this crust.
If you would like to know more about eating old-fashioned healthy check out Happy Healthy Now. It’s free and will let you in on some easy health secrets that don’t require buying supplements or going on crazy diets.
Blessings,
Joanne


I first saw this recipe in the Boston Globe in the early 1980s! It’s a guaranteed success. Thanks for reminding me of it!
It really is a guaranteed success! You are very welcome. Feast before the Lord with joy! It works well with my grandfather’s French Canadian pork pie too.